Step 1
Login to your Glow account, find the website that you want to create a report for and go to Reports > Create report.
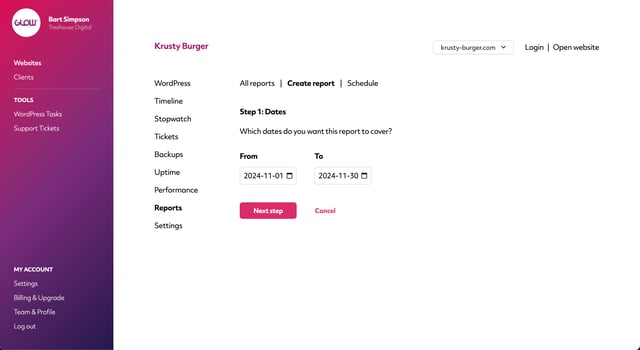
Step 2
The first job is to select the dates that you want this report to cover. Using the From and To date pickers, select the dates you need and then click the Next step button.
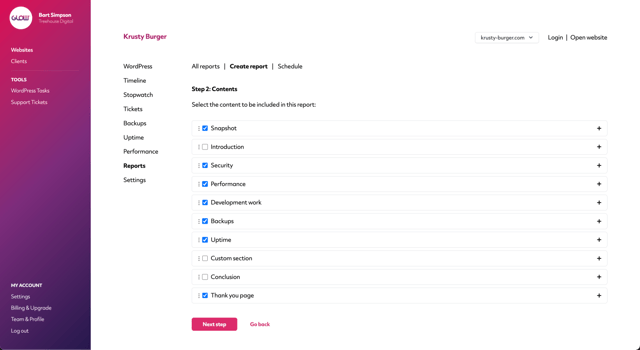
Step 3
On the next screen, you’re able to choose what information to show in the report.
Using the checkboxes next to each section, select which sections you want to include in the report.
Step 4
Next, make any necessary customisations to the report content. Here’s what you can customise:
- The page order – Using the icon of the 3 vertical dots to the left of each section, drag and drop into the order you want them. The higher the section appears in the list, the earlier it’ll appear in the report PDF.
- Rich text and links – Click the
+ icon to the right of any section accordion to expand the panel. For those sections that include a text area, you can edit all the text and add rich text (bold / italics) and even links too.
- Page titles – Also in the expanded accordion for any section, you’re able to customise the page title.
- Add images/screenshots – For most sections, you’ll see the
paperclip icon that you can use to add images/screenshots into the report content.
- Custom sections – Use the Custom section to add any further information that isn’t natively available in Glow. You can add multiple custom sections too.
Note: You can customise all report text, allowing you to create reports in whatever language you need.
When you’re happy with the contents of your report, click the Next step button at the bottom.
Step 5
Glow will now create the report, which can take up to about 30 seconds.
Step 6
Now the report has been created, you’re able to do 2 things:
- Preview it
- Save the content settings for future reports for all other clients
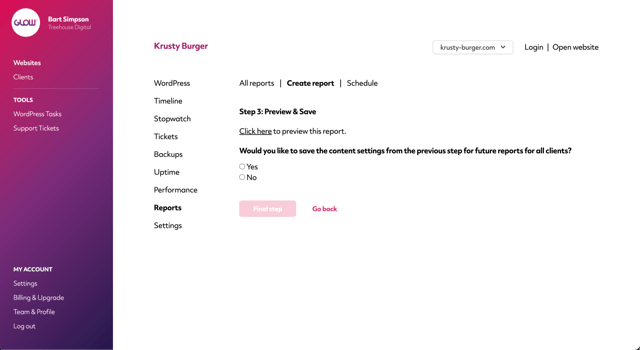
Do as you need to here and then move on to the next step by clicking the Final step button.
Step 7
The final step is to send the report.
You have 2 options:
- Send from here (from Glow)
- Download PDF
Send from here
If you want to send the report from Glow, you’ll first need to make sure you have a user added to the account for the client whose website you’re creating a report for.
Related: Add a member of your client’s team
When you’ve done that you’ll be able to select which of your client’s team members should receive the report. You can send the report to more than one person.
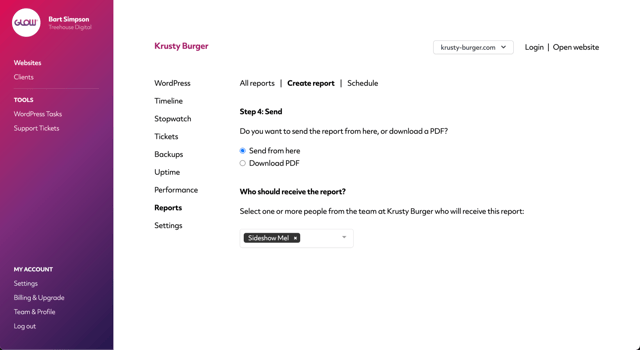
Select them from the dropdown menu and then move down to the next section.
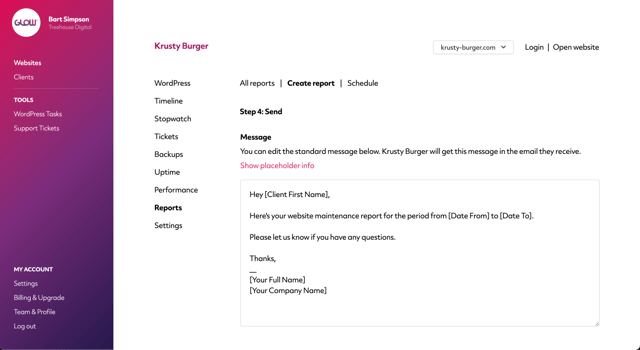
Finally, edit the email template that shows at the bottom of the screen using the text box and the placeholders.
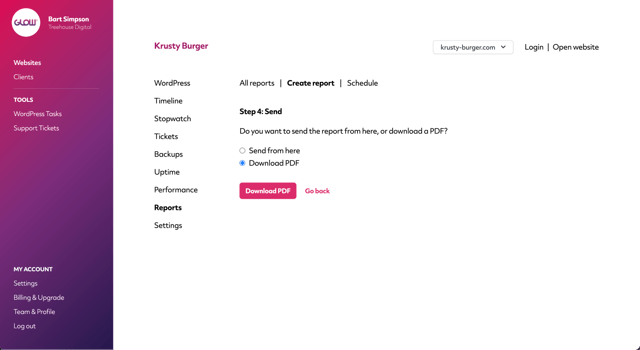
Download PDF
If you’d prefer to send the report yourself from outside Glow, eg. by email, then select the Download PDF option. Click the radio button and then the Download PDF button that shows.
After doing that, you’ll get confirmation that the report has been created and downloaded to your computer.
