Step 1
Login to your account and click on Support Tickets from the main left hand menu.
Step 2
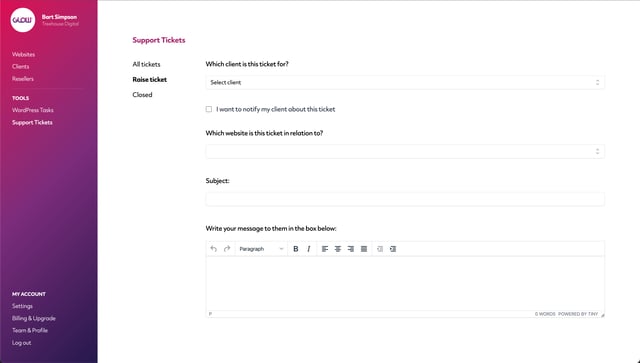
The Support Tickets screen will load the All tickets tab from the inner menu by default. Click on Raise ticket.
Step 3
On the next screen, begin by selecting the client from the dropdown menu at the top. This is the client who you will be sending your message to.

Step 4
If you want to notify your client about this ticket, make sure to tick the checkbox labelled: I want to notify my client about this ticket.
Note: If you haven’t yet added a client team member for the client you’ve chosen, you’ll be instructed to do so first, before you can notify them.
If you don’t want to notify your client, simply leave the checkbox unticked.
Step 5
Now select the website that this ticket is in relation to. Depending on the client, there may be multiple websites to choose from in the dropdown menu.
Step 6
Now write a Subject for this ticket.
Step 7
Below, you’ll see a text box where you’re able to write the message to your client.
If you need to attach a file, click on the box beneath the text box where it says: Attach files here.
This will open a window from where you can select one or more files to attach to the ticket.
Note: There is a 5mb limit on file attachments.
Step 8
Finally, set the priority level of the ticket using the dropdown menu.
Step 9
Click the Create button.
Once the ticket has been created, you’ll see a success message on screen.
If you chose to notify your client, they’ll receive an email notification, informing them that you’ve sent a message. They’ll be able to open the link in the message and reply.
